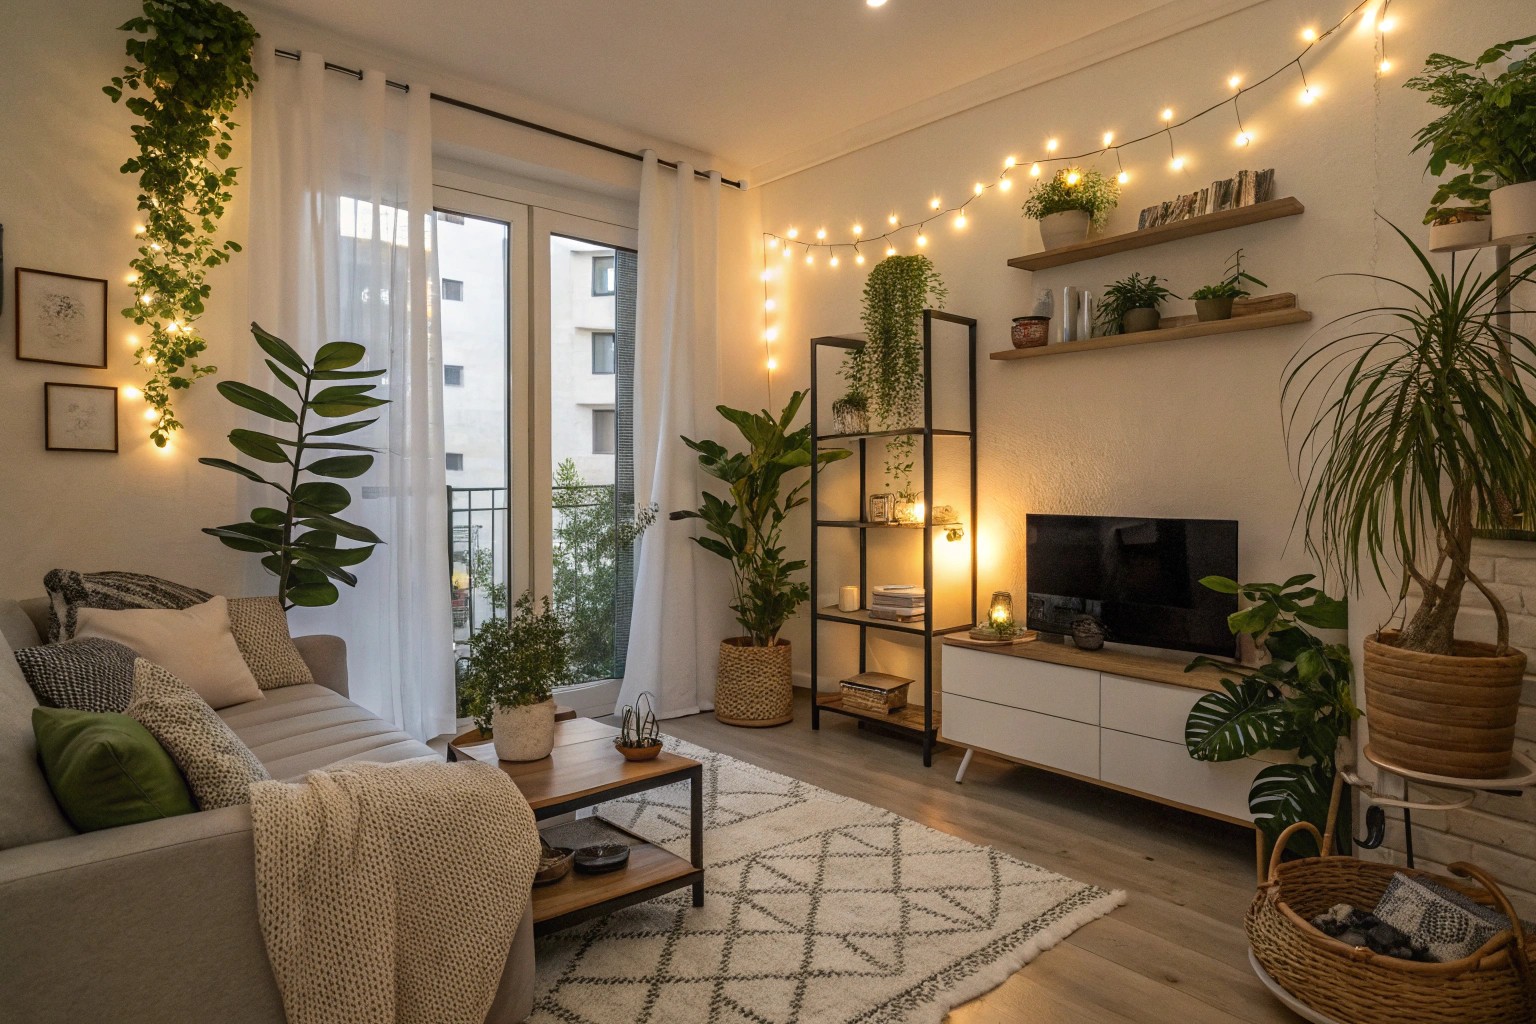
Small spaces aren’t limitations—they’re opportunities to create homes that feel expansive, purposeful, and deeply personal. The key lies in understanding how to design depth, both visual and experiential, that transforms a single room into a complete living environment.
Understanding Visual Depth in Small Spaces
Visual depth creates the illusion of spaciousness by manipulating how our eyes perceive distance and dimension. This psychological principle becomes your most powerful tool when working within limited square footage.
The Science of Spatial Perception
Your brain processes depth through several visual cues that can be strategically employed in interior design. These include:
- Linear perspective: Creating sight lines that draw the eye toward a focal point
- Atmospheric perspective: Using color temperature to suggest distance
- Overlapping elements: Layering objects to create visual complexity
- Scale variation: Mixing proportional elements to establish hierarchy
Essential Depth-Creating Techniques
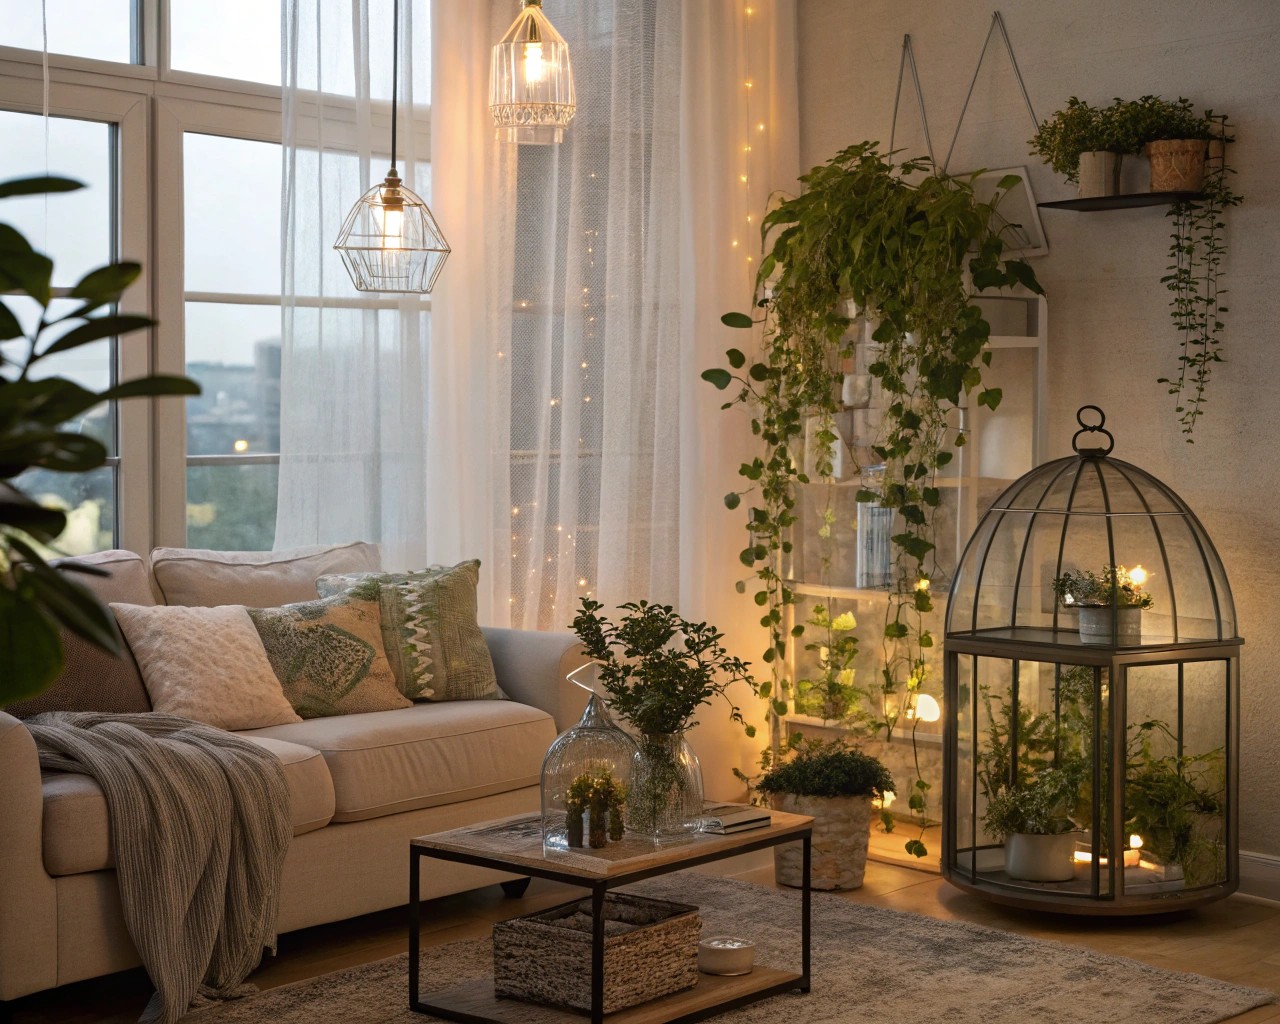
Color Temperature Strategy
Warm colors advance while cool colors recede, allowing you to manipulate the perceived boundaries of your space. Place warm accents on elements you want to emphasize and use cool tones on surfaces you wish to push back visually.
Transparency and Opacity Balance
Materials with varying degrees of transparency create intricate layers within confined spaces. Glass tables, sheer curtains, and lucite furniture maintain functionality while reducing visual weight.
The Art of Layered Lighting
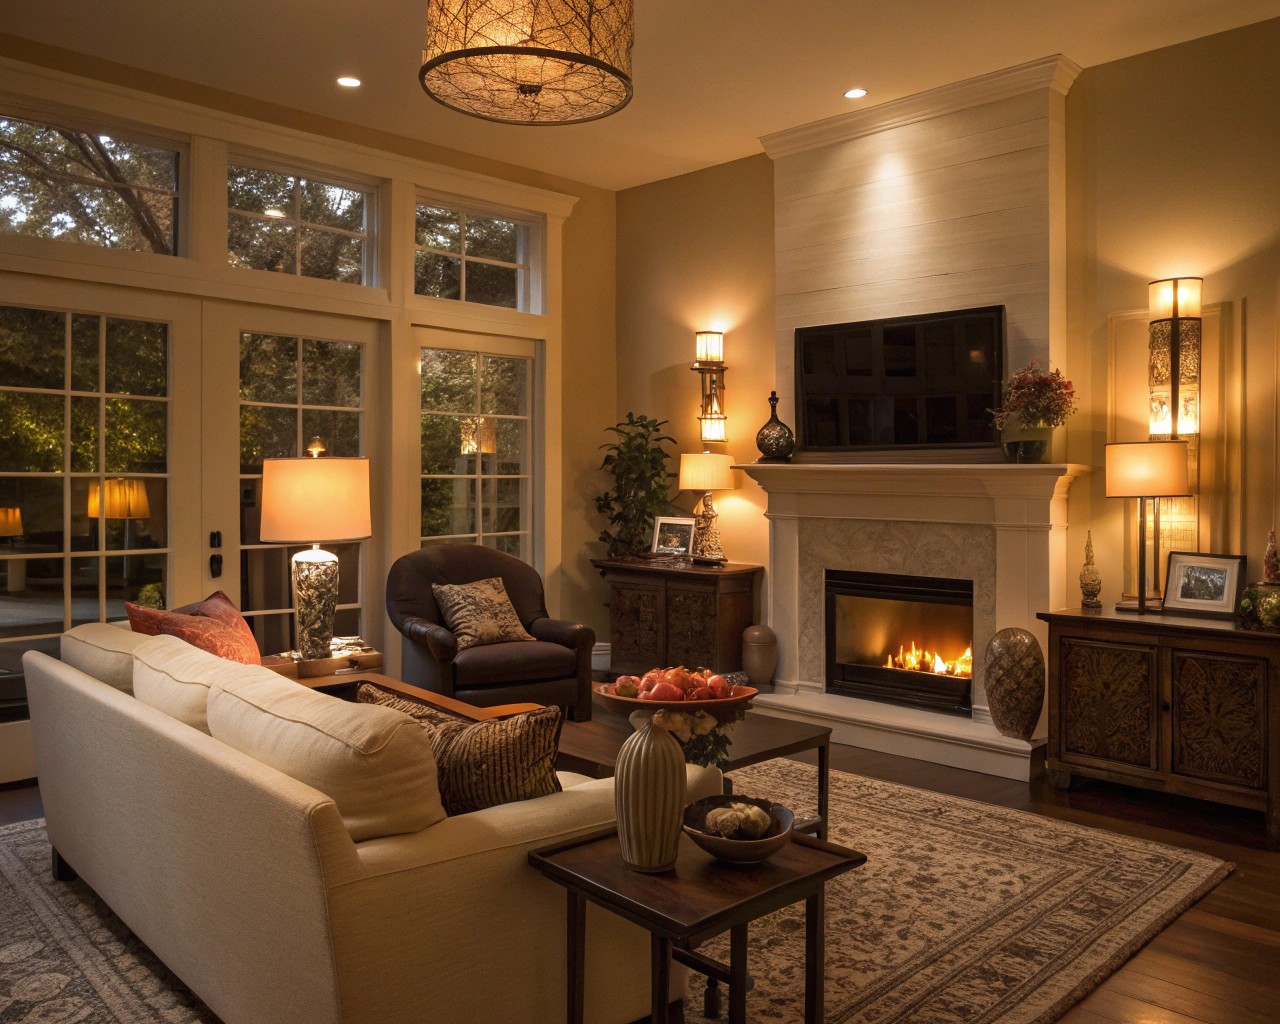
Lighting transforms flat spaces into dimensional environments through careful orchestration of ambient, task, and accent layers. This tri-level approach creates depth while addressing functional needs.
Creating Your Lighting Foundation
| Lighting Layer | Purpose | Examples | Placement Tips |
|---|---|---|---|
| Ambient | Overall illumination | Ceiling fixtures, cove lighting | Use dimmers for flexibility |
| Task | Functional lighting | Reading lamps, under-cabinet strips | 18-24 inches from work surface |
| Accent | Visual interest | Picture lights, LED strips | Highlight architectural features |
Strategic Light Placement
Vertical Emphasis
Drawing attention upward makes rooms appear taller and more spacious. Install wall sconces higher than standard height and use floor lamps with upward-directed light to create this effect.
Reflective Amplification
Mirrors positioned opposite windows double natural light while creating the illusion of additional windows. This technique works particularly well in narrow spaces where depth perception needs enhancement.
Mastering Vertical Space Utilization
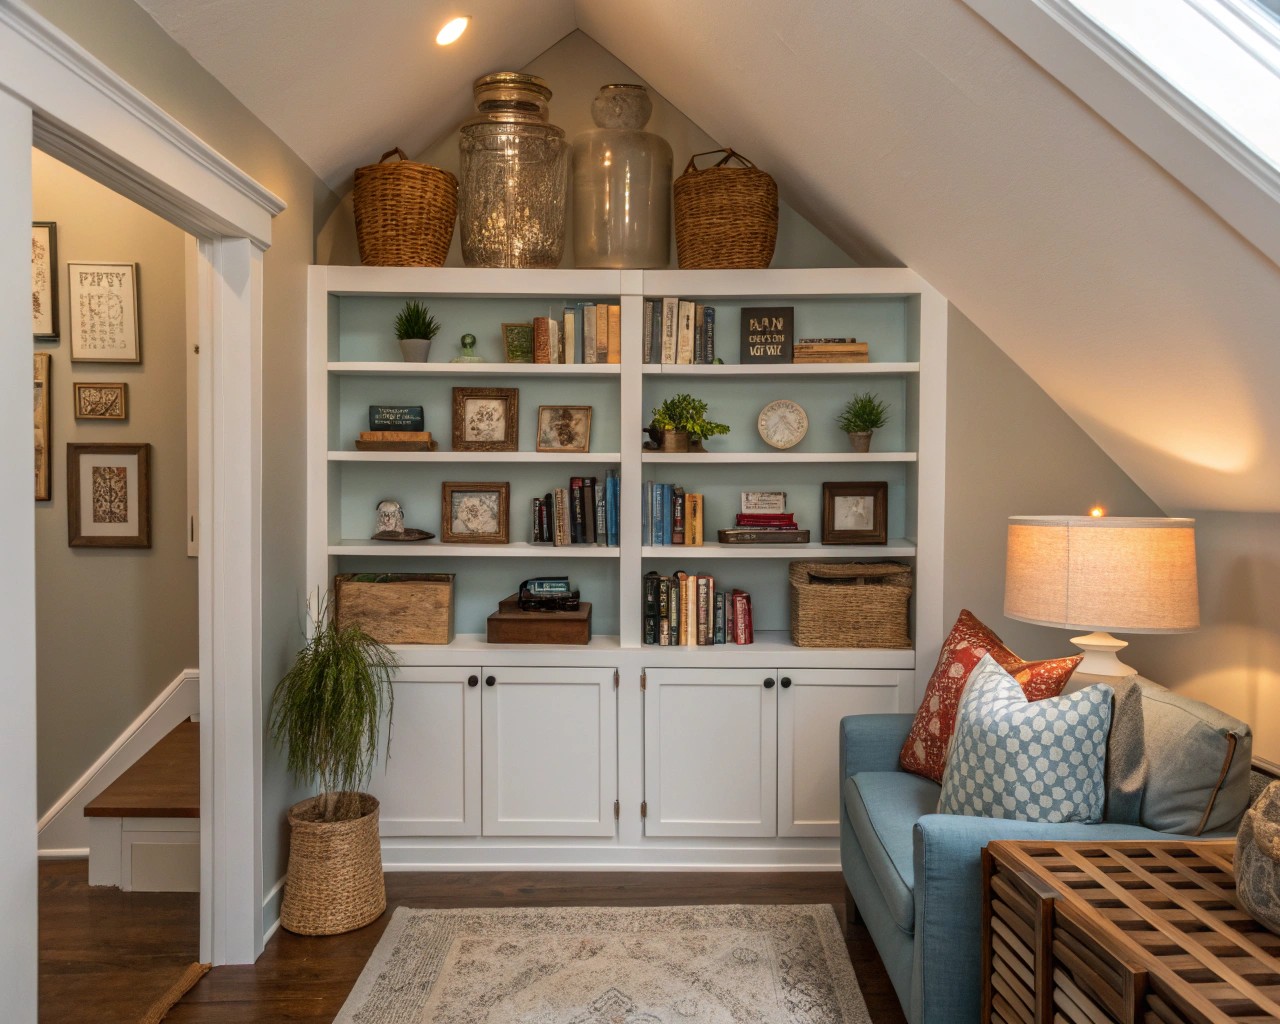
Small spaces demand that every cubic foot serves a purpose, making vertical design essential for both storage and visual impact.
Smart Vertical Solutions
Above-Standard Installation
– Install shelving 12-18 inches from the ceiling
– Mount artwork in vertical groupings to elongate walls
– Use floor-to-ceiling curtains to increase apparent window height
Multi-Level Storage Systems
Wall-mounted organizational systems free floor space while creating visual interest through varied heights and depths. Consider modular shelving that can adapt as your needs change.
Case Study: Studio Apartment Transformation
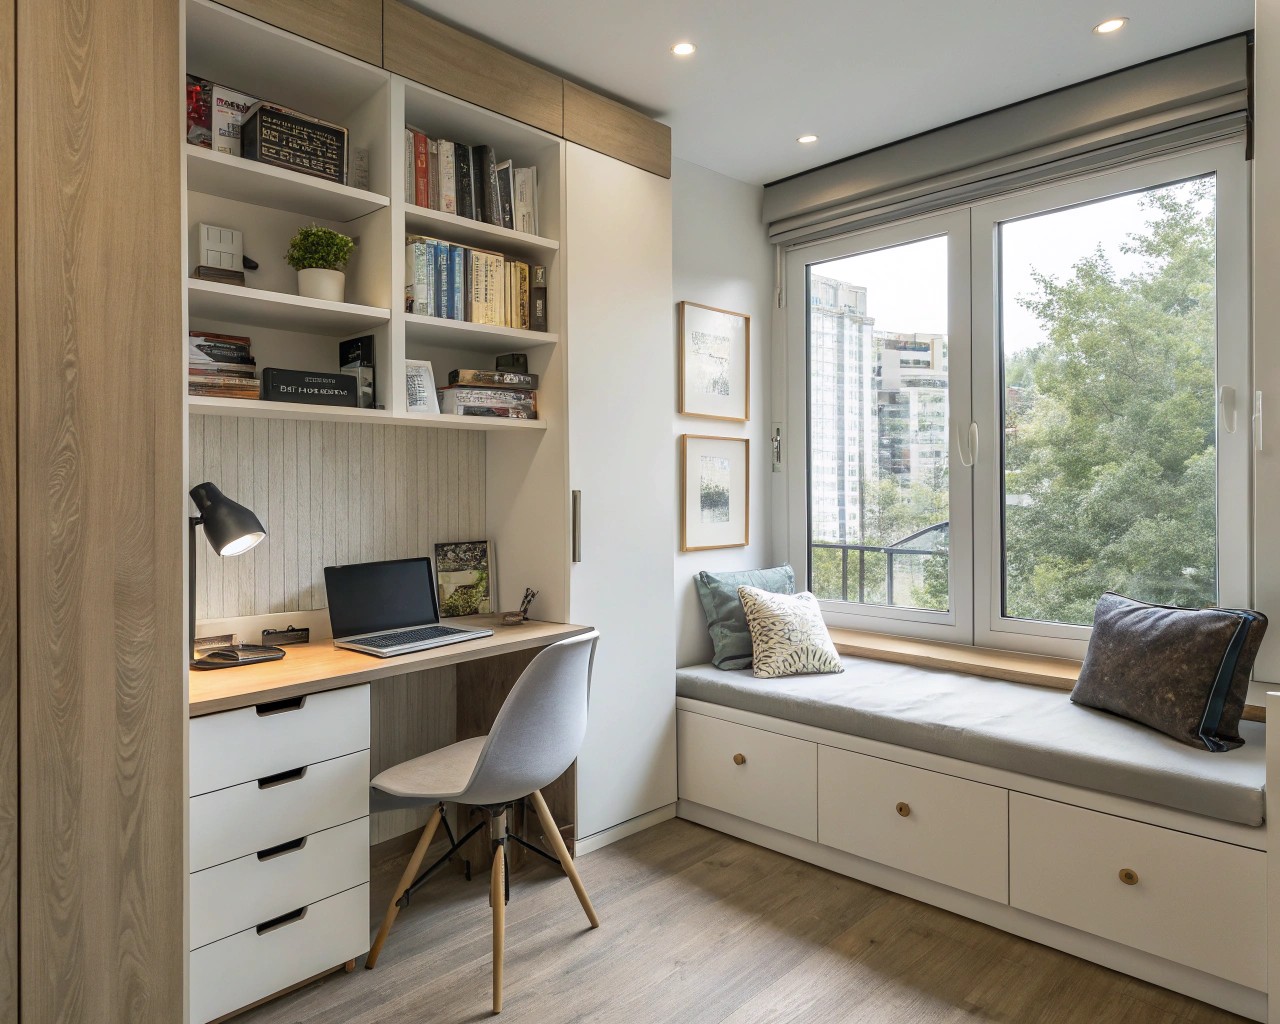
I recently worked with a 450-square-foot studio where vertical design doubled the usable space. By installing a custom floor-to-ceiling storage wall with integrated desk space, we created distinct zones for sleeping, working, and storage without physical barriers.
Color Psychology and Space Expansion
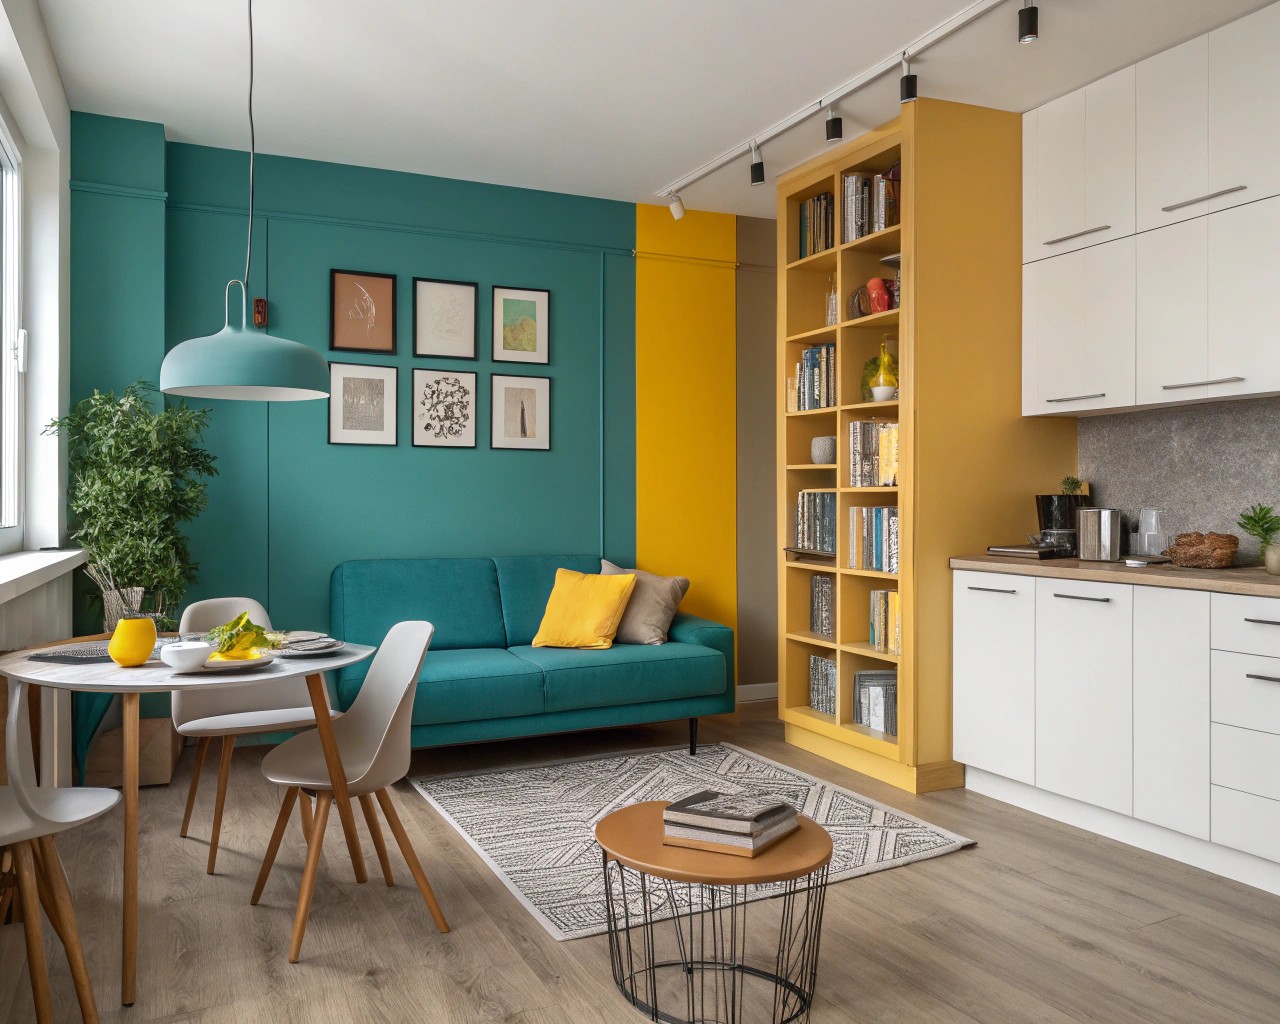
Color choices profoundly impact how we perceive and experience small spaces, with light and neutral tones creating openness while strategic dark accents add sophisticated depth.
The Balanced Palette Approach
Foundation Colors
Light, cool, or neutral colors—blues, greens, whites, and grays—reflect light and create an airy atmosphere. These serve as your canvas for more dynamic elements.
Accent Integration
Rather than avoiding all dark colors, use them strategically to create focal points and visual anchoring. A single dark accent wall can actually make a room feel larger by creating depth perception.
Texture as Color’s Partner
Natural textures bring warmth and visual interest without overwhelming small spaces. Consider these combinations:
- Smooth-rough pairings: Glass surfaces with woven baskets
- Hard-soft contrasts: Stone countertops with plush textiles
- Matte-glossy variations: Flat paint with metallic accents
Furniture Selection and Proportional Design
The relationship between furniture size and room dimensions determines whether a space feels cramped or well-proportioned. Contrary to intuition, properly scaled larger pieces often work better than multiple small items.
The Scale Paradox
Why Larger Can Work Better
A single, appropriately sized sofa creates a stronger focal point and leaves more floor space visible than two small loveseats. This principle applies across furniture categories and helps avoid the cluttered feeling that multiple small pieces can create.
Multi-Functional Furniture Essentials
| Furniture Type | Single Function | Multi-Function Alternative | Space Saved |
|---|---|---|---|
| Coffee table | Surface only | Storage ottoman | Eliminates side tables |
| Dining table | Eating only | Expandable desk/table | 50% floor space when collapsed |
| Bed | Sleeping only | Murphy bed/daybed | 70% floor space when stored |
Circulation Planning
Maintain 24-30 inches between major furniture pieces to ensure comfortable movement. This might seem generous in a small space, but adequate circulation actually makes rooms feel larger.
Strategic Storage Solutions
Effective storage in small spaces requires creative thinking about unused areas and double-duty solutions.
Hidden Storage Opportunities
Underutilized Zones
– Under-stair areas for custom built-ins
– Above-door shelving for seasonal items
– Behind-door hanging systems for daily essentials
Integrated Storage Design
Built-in storage solutions maintain clean lines while maximizing capacity. Consider window seat storage, headboard shelving, or custom closet systems that extend to the ceiling.
Organization Hierarchy
Daily Use Items: Keep at arm’s reach in the most accessible locations
Weekly Items: Store in secondary zones like upper shelves or under-bed boxes
Seasonal/Occasional: Utilize highest and most remote storage areas
Creating Functional Zones
Even in a single room, distinct areas for different activities make spaces feel larger and more complete.
Visual Zoning Techniques
Furniture Placement
A strategically placed sofa or bookshelf can define separate areas without walls. This maintains openness while creating psychological boundaries between functions.
Flooring Transitions
Area rugs, different materials, or level changes can delineate zones without physical barriers. Ensure rugs are large enough—they should extend at least 12 inches beyond furniture groupings.
The Studio Apartment Blueprint
Sleep Zone: Elevated or screened area with blackout capability
Work Zone: Well-lit area with adequate surface and storage
Living Zone: Comfortable seating arranged for conversation or entertainment
Kitchen Zone: Efficient work triangle with nearby storage
Biophilic Design in Compact Spaces
Connecting with nature enhances well-being and creates visual depth through organic elements.
Low-Maintenance Natural Integration
Vertical Gardens
Wall-mounted planters or moss installations add life without consuming floor space. Choose low-light tolerant plants like pothos or snake plants for easier maintenance.
Natural Materials
Wood, stone, linen, and other organic materials create tangible connections with nature. These don’t require maintenance like live plants but still provide biophilic benefits.
Air Quality and Acoustics
Plants improve air quality while soft natural materials help absorb sound in small spaces. This dual function makes biophilic elements particularly valuable in compact living situations.
Common Design Mistakes to Avoid
Understanding what doesn’t work is as important as knowing effective techniques.
The Top Small Space Pitfalls
Over-Scaling Down
Choosing furniture that’s too small creates a sparse, uncomfortable feeling. Aim for appropriately sized pieces rather than miniaturized versions.
Ignoring Vertical Space
Many people focus only on floor area, missing opportunities to utilize wall and ceiling space. Think three-dimensionally when planning your layout.
Poor Lighting Layers
Relying on a single overhead fixture creates flat, uninviting spaces. Layer different light sources for depth and functionality.
Inadequate Circulation
Cramming too much into a space makes it feel smaller than it actually is. Leave breathing room between elements.
Measuring and Planning Guidelines
Proper measurement ensures your design decisions work in practice, not just theory.
Essential Measurements
Room Documentation
– Wall lengths and heights
– Window and door locations with dimensions
– Ceiling height variations
– Electrical outlet positions
Furniture Planning
Use the 2/3 rule: furniture should occupy approximately two-thirds of available wall space, leaving one-third for visual breathing room.
Traffic Flow Requirements
- Main pathways: 36 inches minimum width
- Secondary paths: 24 inches minimum
- Furniture clearances: 18 inches between seating and coffee tables
Psychological Benefits of Thoughtful Design
Well-designed small spaces can actually enhance mental well-being by promoting mindfulness and reducing decision fatigue.
The Minimalism Advantage
Living with fewer, better-chosen items reduces visual clutter and mental stress. This enforced curation often leads to higher satisfaction with your possessions and environment.
Community and Connection
Compact living often fosters stronger relationships by encouraging shared spaces and activities. Design your space to facilitate these connections rather than isolation.
Implementing Your Transformation
Phase 1: Assessment and Planning (Week 1)
- Measure and document your space thoroughly
- Identify primary functions and daily routines
- Create a priority list of needed improvements
Phase 2: Foundation Changes (Weeks 2-4)
- Address lighting and electrical needs
- Implement color changes and major furniture decisions
- Install essential storage solutions
Phase 3: Refinement and Styling (Weeks 5-6)
- Add layers through textiles and accessories
- Incorporate plants and natural elements
- Fine-tune organization systems
Your small space can become a complete, satisfying home through thoughtful application of these design principles. Focus on creating depth through layering—visual layers through lighting and color, functional layers through multi-purpose elements, and emotional layers through personal touches that reflect your lifestyle and values. The result will be a space that feels much larger than its square footage suggests and serves all your needs with grace and efficiency.

